Entry Door Hinge Screws and Fasteners
Enhance your home with a new front entry door and have an instant impact on your home's curb appeal and perceived value. Installing an entry door is a job that can be tackled by a handy homeowner or a professional when equipped with the right tools. SPAX offers a variety of fasteners for installing your new door.
GERMAN ENGINEERED. AMERICAN MADE.
How to Install a New Entry Door
The front door replacement process is a step up from a DIY project like storm door installation. This is not a simple task for beginners. You need more tools, skills and experience for a quality installation.
Every home is unique. New front doors can have differences too. For this application article, we’re sharing the general method of full frame replacement for a block frame fiberglass or steel entry door from a manufacture like Benchmark, Feather River, JELD-WEN, Masonite, Pella, Reliabilt, Therma-Tru, or other common manufacturers. This process involves removing the door panel and frame of the existing door from the wall, without disturbing the brick or siding.
The size, style, material and shape of the door — as well as whether your new door has brickmould or not — can impact the installation process. Before you get started, remove the plastic wrap and cardboard packaging from the door. Inspect the product for any damage and read your entry door installation manual provided by the manufacturer.
Step 1: Remove Your Current Entry Door
Before installing a new front door, you have to remove the old one. In many older homes, doors are painted with lead-based paint. Removing the old door can disturb the paint, so you must take proper precautions to minimize exposure to dust and debris. Ask a certified risk assessor to check your home for lead paint hazards and help you choose your best removal options.
If your existing front door does not have lead-based paint, follow these steps for removing it:
- Remove the interior trim. Use a utility knife to score and scrape where it meets the wall to minimize any damage from pulling it off — especially if you plan on reusing the existing trim. Pry off the trim with a pry bar, using a block of wood for leverage. If you’re reusing the trim, pull out the nails through the back side of the trim with pliers. Do the same for the exterior trim.
- Take the door off the hinges. Hammer out the hinge pins to remove the door from the frame. Most hinge pins can be hammered out from the bottom.
- Remove the hinges. Unscrew the hinges from the frame. Use a power drill and a bit to get it done faster.
- Remove the fasteners. Pull out the nails or remove the screws that secure the door frame to the frame of the house. You may have to use a reciprocating saw to cut the nails or screws if you can’t easily get them out.
- Remove any shims. Inspect the door frame to see if there are any small pieces of wood that were used as shims to fit the old door.
- Take the door frame down. Carefully pull the old door frame off. You may have to pry it with a pry bar. Take caution not to damage the house as you pry the door frame.
Step 2: Prepare the Rough Opening
Clean and vacuum the rough opening of any debris from the entry door removal process. Cut and apply any metal flashing or drip cap per your installation manual instructions. This may include flashing tape and sealants at the head, across the sill and six inches up each jamb to help create a tighter seal. For replacement projects, always be sure to resolve any water management issues or repair any wood deterioration that may exist within the wall system before installation of the new entry door.
Step 3: Set, Square and Plumb the Door
This is where you’ll need some help. If your new door was ordered with brickmould, apply a continuous, 3/8 - 5/8" bead of a high-quality hybrid polymer, elastomeric or polyurethane sealant along the head and jambs, about a half inch from the opening. Add sealants or pan flashings on the opening sill in accordance with your installation instructions.
Place Door in Opening
Two or more people are recommended to insert the new door frame, center it in place and plumb and square the door. Lift the unit up. With top edge tilted away from opening, center the unit and place sill down onto sill pan or caulk beads and tilt into opening.
Place shims behind the vacant screw hole at each hinge until there is a consistent 1/8" gap between the hinge-side jamb and the door slab edge along the entire height of the door.
Squaring the Door
Square means that your corners meet at 90º angles. Use a tape measure and measure from one top corner across to the opposite bottom corner. Do the same from the other corner so you measure in an “X” pattern. If you get the same measurement, your door is square. Check it every time you shim or move the unit to be sure.
Plumbing the Door
Fasten a top corner of the frame to the rough opening and use a level to check the face of the frame, ensuring the door is straight up and down. When the door is square and plumb, the gap between the panel and frame should be consistent on all sides.
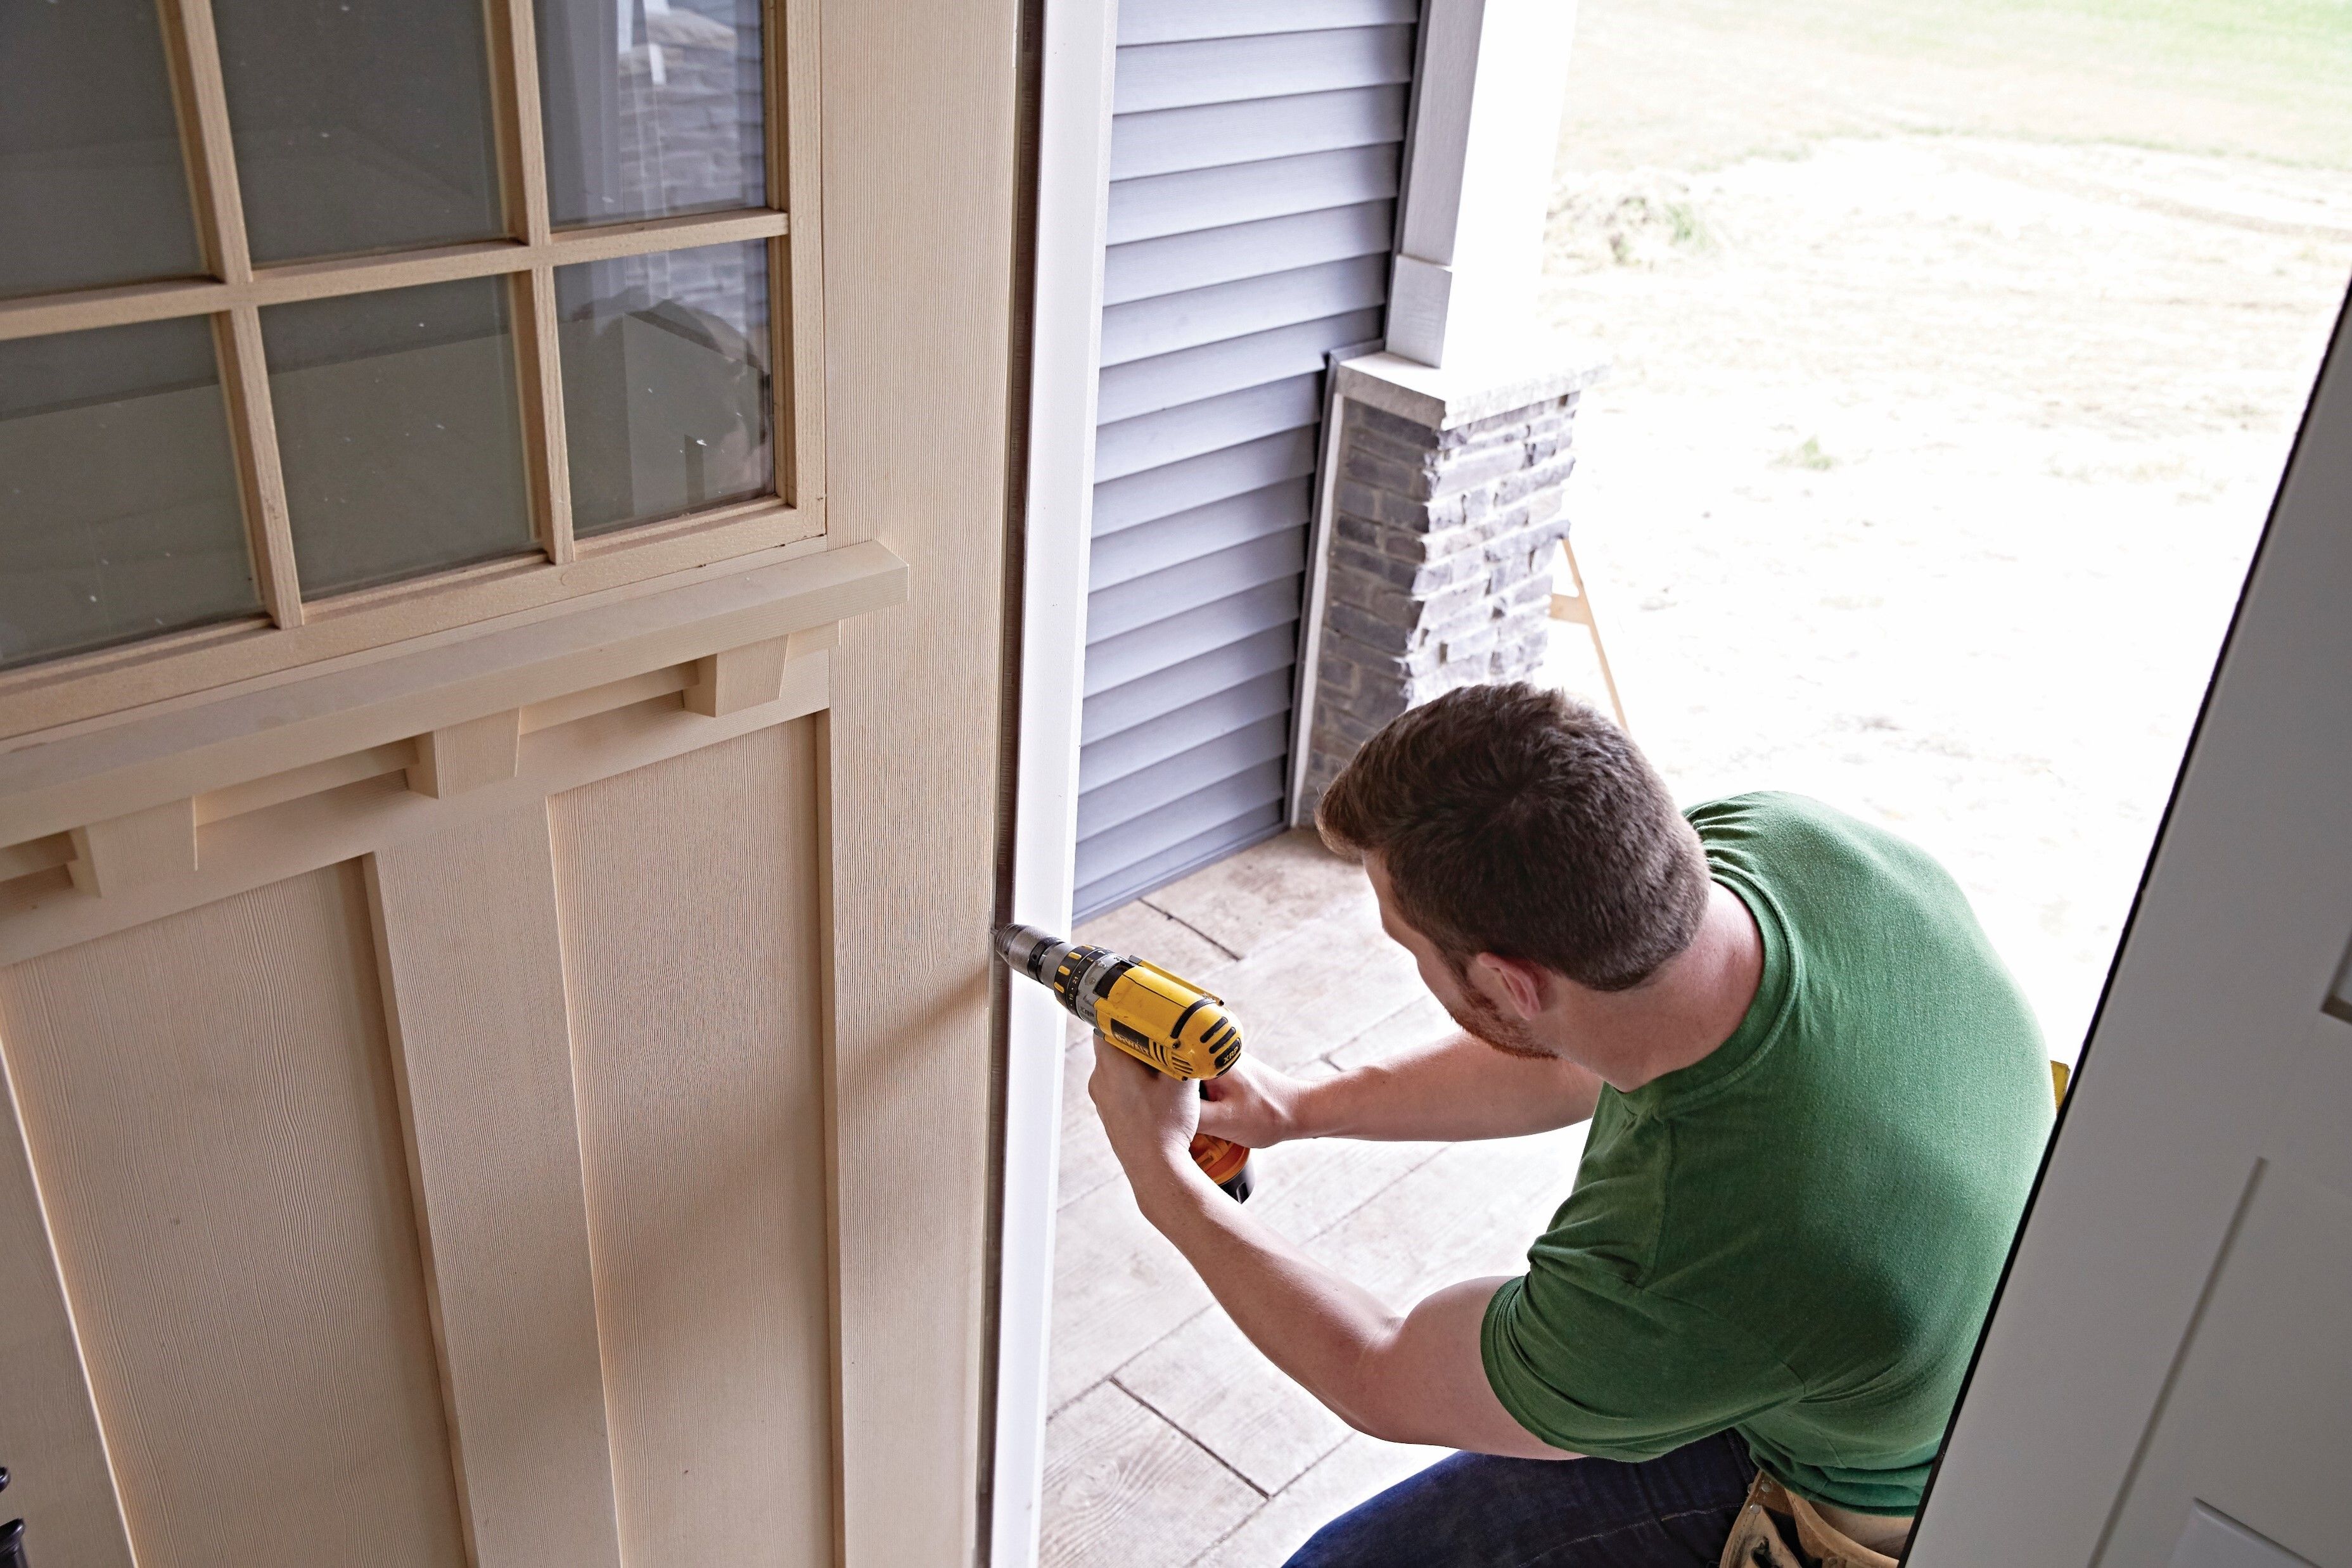
Step 4: Fasten your New Front Door
Carefully open the door and remove the spacers that kept the door closed in its packaging. Then secure the hinges to the stud by attaching a #8 X 2-1/2" or 3" exterior grade screws, such as the SPAX Unidrive Combination Flat Head Multi-Material Construction Screw, through the open holes in the hinge. Do Not Fasten through the Brickmould as it will not provide sufficient structural integrity.
PRO TIP! For the top hinge, if the holes are not left blank, remove the two screws closest to the weather strip. Then, install the #10 X 2-1/2" screws through the hinge, into the stud, to anchor the door frame and prevent sagging.
Before moving onto the next step, make sure your door opens smoothly and evenly, and check for an even panel to frame reveal. Also, ensure all weatherstrips are properly in place and making contact with the door panel.
Close the door and carefully shim between the jamb and the opening behind the adjustable strike plate area. Then open the door and drill 1/8" diameter pilot holes and install the #8 X 2-1/2" screws through the strike plate holes to secure the lock side jamb and provide security. Adjust strike plate in or out for proper weatherstrip contact and door operation, then finish tightening screws.
Your door unit may have an adjustable threshold cap. When properly adjusted, it should be snug and slightly difficult to pull a dollar bill out from under the door when it is fully closed. The dollar bill should be able to be removed without tearing. This check should be performed at each adjustment screw location. After adjusting the threshold cap, ensure that the weatherstrip is flush with the top of the threshold cap. Trim as necessary.
Step 5: Seal the Door
From the inside of your home, seal the interior of the door with either insulating foam or backer rod and sealant. Backer rods help provide shape and depth for the sealant line you’re about to lay.
From the exterior of your house, for non-brickmould doors, insert backer rod 3/8" deep in the space around the door. Apply a bead of sealant around the entire perimeter. Apply another bead to the exterior edge of the sill and sill support. Use a putty knife to shape, smooth and clean any excess sealant. Add sealant near the frame corners, as indicated in the installation instructions.
Step 6: Put on the Finishing Touches
You’re almost there. Your new front door is now set, fastened and sealed. Double check that everything is working properly by opening and closing the door a few times. All that’s left are a few things to make sure your new door looks as good as new. Check the assemblies and accessories in your installation manual for finishing touches. If you selected a different hardware set, install it by following the instructions on the set. Use a screwdriver to avoid damaging your new door. Factory finished door units do not require additional finishing, but you will want to read through the maintenance steps provided to ensure you know how to properly care for your new door.
We’ve Got You Covered
Find the right screw or fastener for your next job with the largest variety of diameters, lengths and head styles in the industry.
Related Products


SPAX® LIMITED LIFETIME WARRANTY
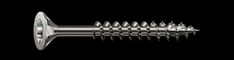
UNIDRIVE FLAT HEAD ENGINEERED FASTENERS
SPAX® Multi-Material Engineered Fasteners are the versatile fastening solution for a wide range of interior and exterior applications in multiple materials, including wood, masonry, concrete, plastic and sheet metal.

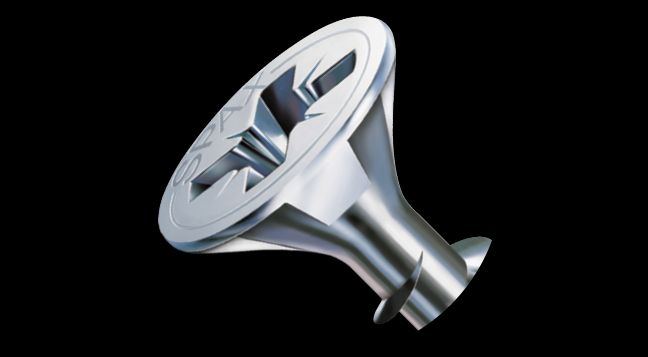
MULTI-Head Design

Serrated Threads