Effortless Conduit strap Installation with SPAX® fasteners
Install conduit straps with confidence using SPAX® fasteners. Get secure, code-compliant results for electrical applications with unmatched speed and precision.
EXCEPTIONAL SOLUTIONS FOR SPECIAL PROJECTS
THE GO-TO FASTENER FOR CONDUIT STRAPS, ELECTRICAL BOXES, AND MASONRY APPLICATIONS
When attaching conduit straps or electrical boxes to concrete, masonry, or block walls, choosing the right fastener is essential. Your selection should account for factors such as load-bearing capacity, substrate material, strap type, and project specifications. SPAX® multi-material fasteners are engineered for dependable performance in demanding conditions. For best results, always follow the manufacturer's guidelines to ensure a secure installation and long-term durability.
We’ve Got You Covered
Find the right screw or fastener for your next job with the largest variety of diameters, lengths and head styles in the industry.


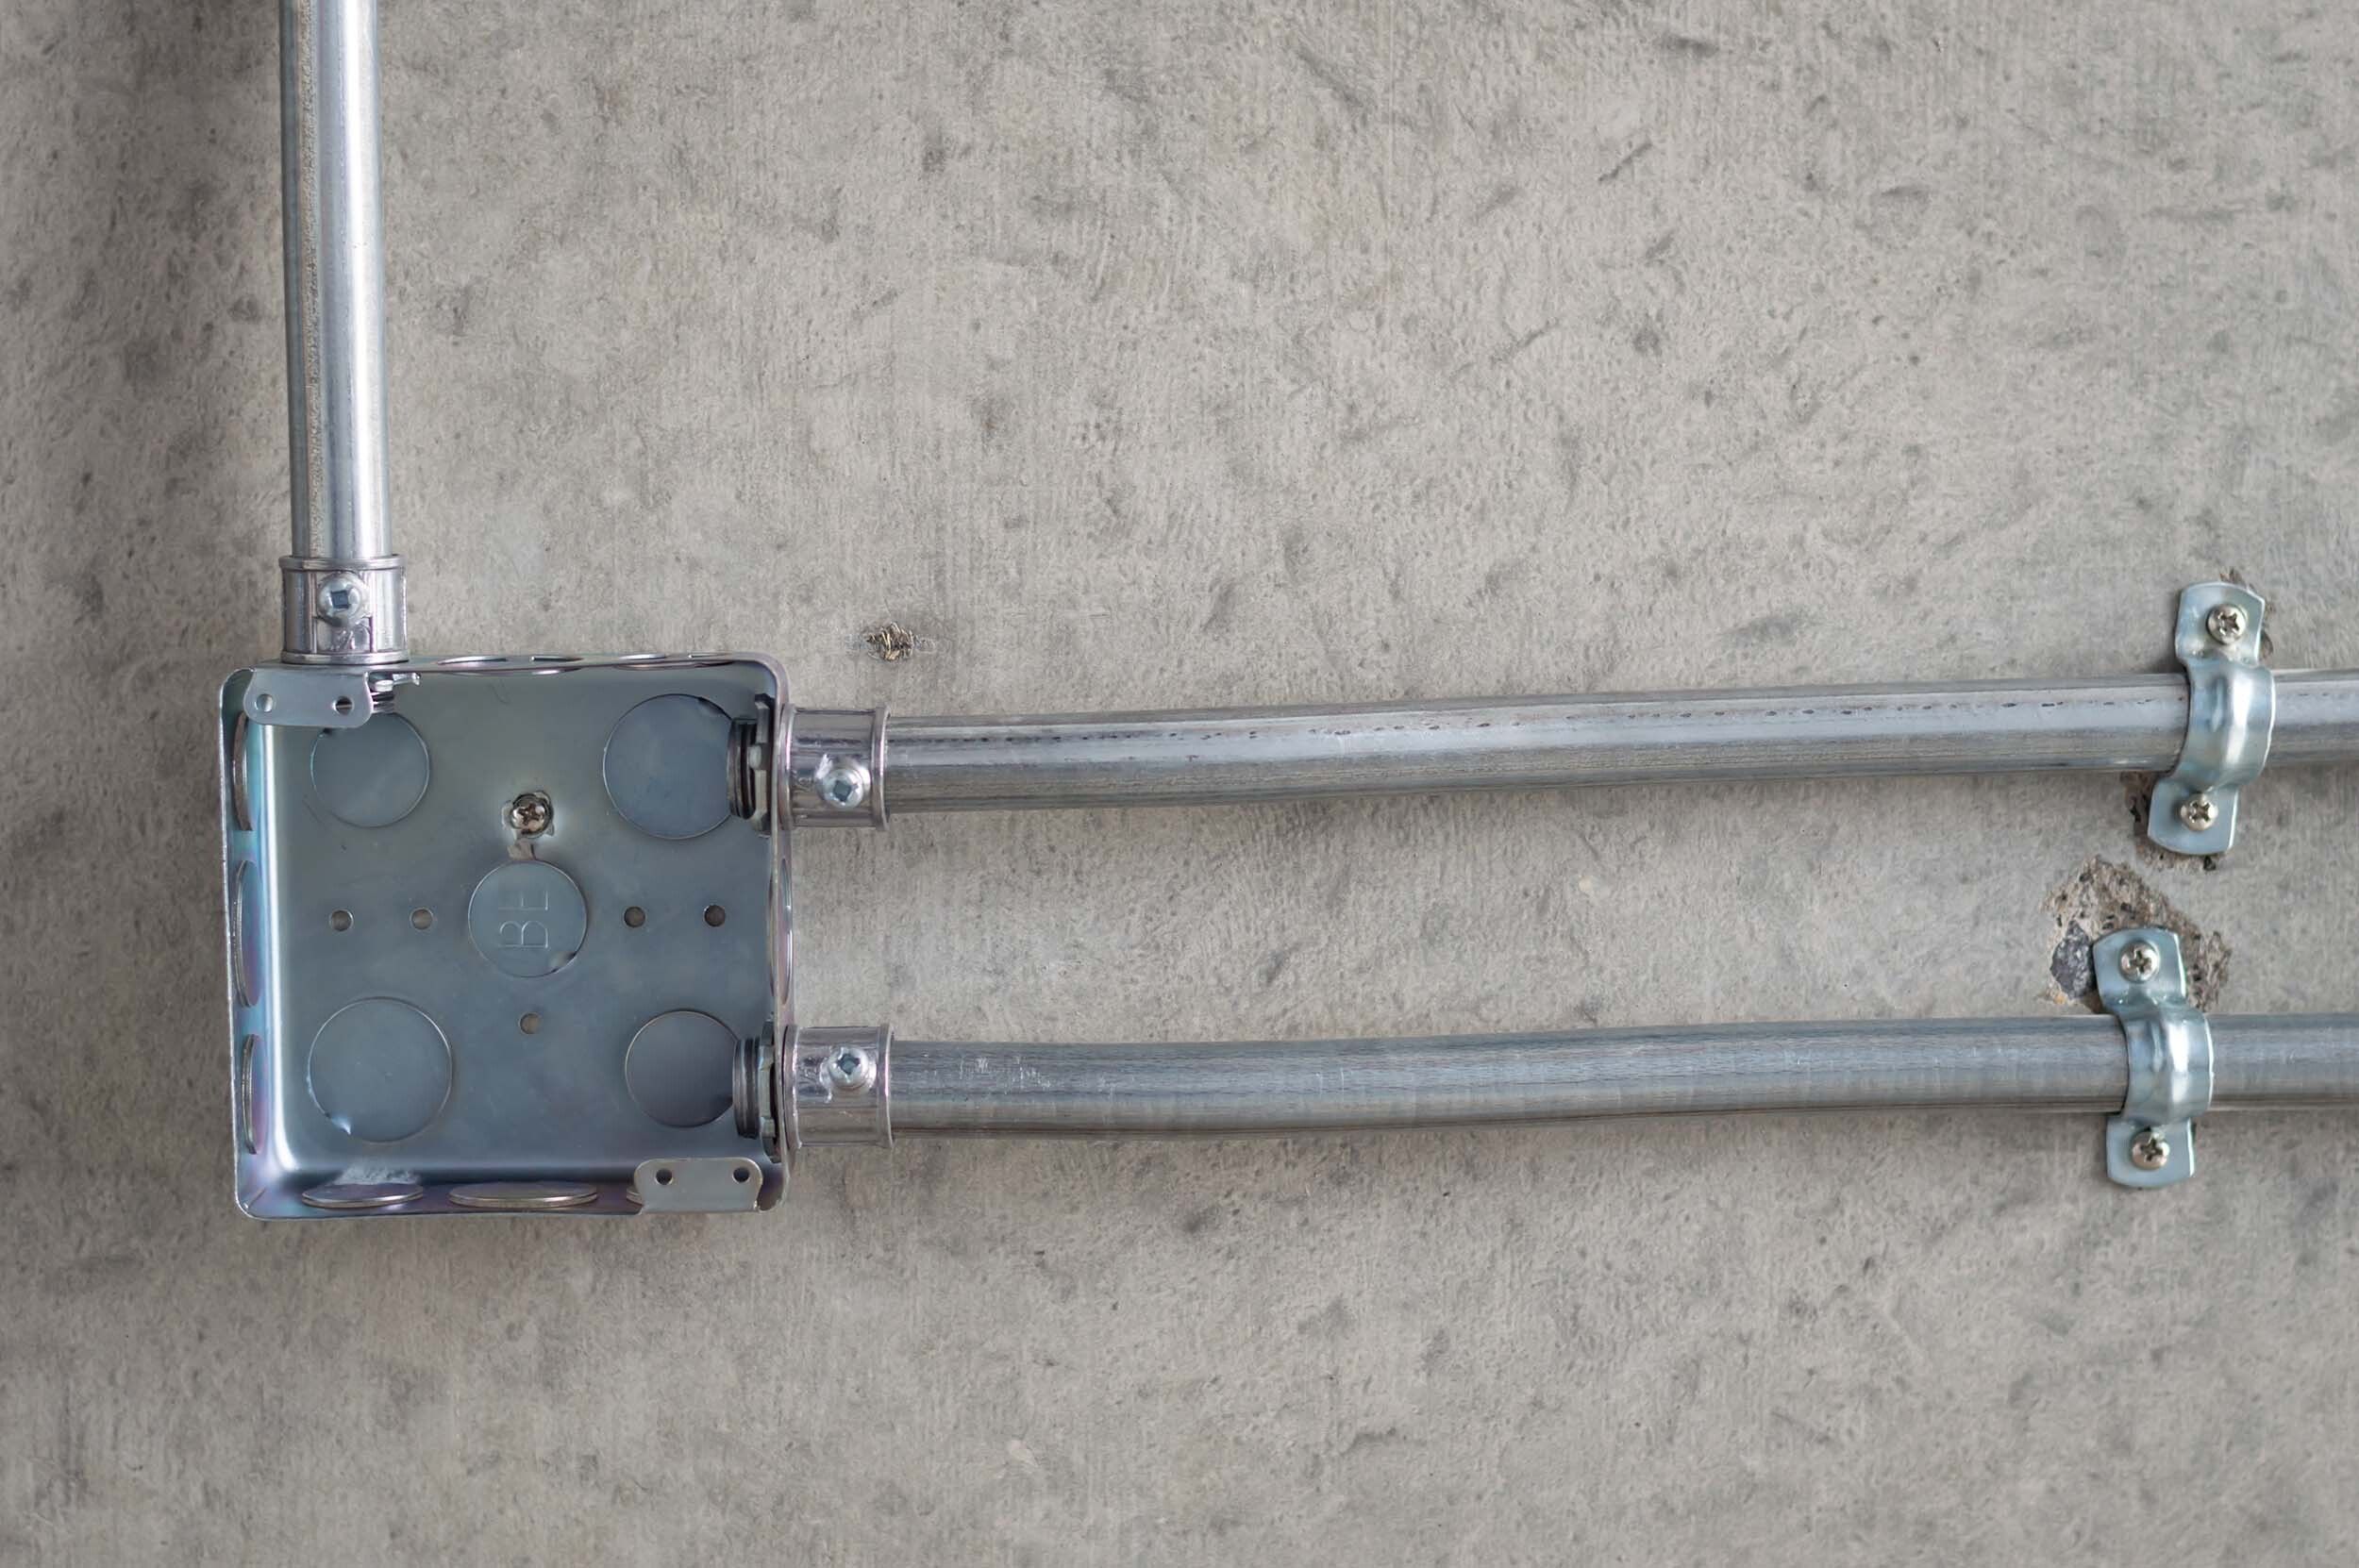
How to Attach Conduit Straps to Concrete or Masonry Walls
Follow these general steps to install conduit straps securely on a concrete or masonry surface using appropriate multi-purpose fasteners.
1. Gather the necessary materials and tools
• Conduit straps
• Multi-purpose fasteners suitable for masonry (such as SPAX pan head multi-material screws)
• Drill
• Masonry bit (sized appropriately for the fasteners)
• Screwdriver or drill bit compatible with the fasteners
2. Plan the conduit strap placement
Determine where you want to mount the conduit straps along the masonry wall. Ensure the locations align with the desired pathway for the electrical conduit.
3. Mark the mounting points
Use a pencil or marker to mark the precise spots on the masonry wall where you will drill the holes for the fasteners. Measure and mark these locations accurately to ensure proper alignment.
4. Drill pilot holes
Put on appropriate safety equipment, such as safety glasses or goggles, and ear protection. Attach the correct masonry bit to your drill. Start drilling at a slow speed, applying steady pressure, and keeping the drill perpendicular to the wall. Drill the pilot holes at the marked points. The size of the pilot holes should match the size of the fasteners you are using.
5. Prep for fasteners
Once the pilot holes are drilled, remove the dust or debris resulting from the drilling. Repeat this process for all the pilot holes.
6. Secure conduit with straps
Align the strap holes with the pilot holes and install fasteners.
7. Secure the conduit straps
Place screws or other suitable fasteners through the conduit strap holes and into the fastener pilot holes. Tighten the screws or fasteners until the conduit strap is firmly attached to the masonry wall.
8. Repeat for other conduit straps
If you have multiple conduit straps to install, repeat steps 6 and 7 for each strap.
9. Check the stability
Once all the conduit straps are attached, ensure they are firmly secured to the wall by giving them a gentle tug or shake. Verify that they can support the weight of the conduit.
Remember to follow safety guidelines, manufacturer instructions for the specific fasteners being used, and any local electrical or building codes applicable to your location. If you are unsure about any aspect of the installation process, consult a professional electrician or contractor for assistance.
SPAX is Independently Tested and Approved
Residential
Building Code
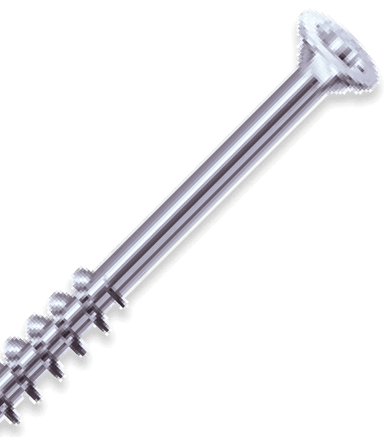
UNIDRIVE PAN HEAD ENGINEERED FASTENERS
SPAX® Multi-Material Engineered Fasteners are the versatile fastening solution for a wide range of applications in multiple materials including; wood, masonry, concrete, plastic and sheet metal.

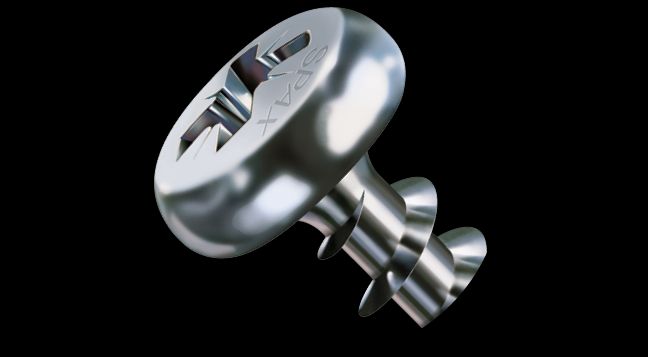
PAN HEAD
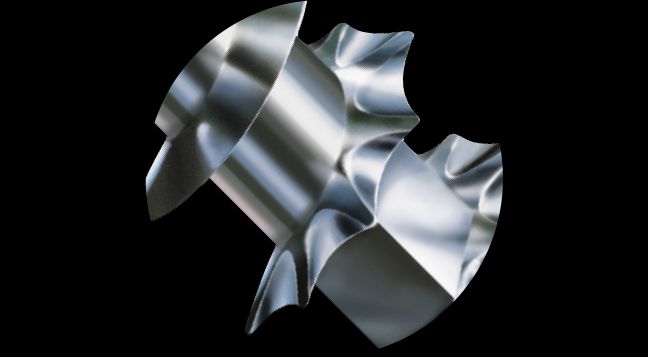
Serrated Threads
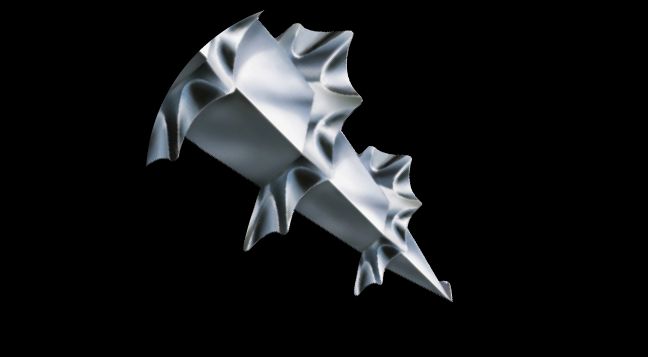
Unique 4CUT™ Point