Stairs and Railings Screws and Fasteners
Working on finish carpentry is all about the details. While there are many choices for what type of fasteners to use, trim head fasteners do the job when installing staircases and railings!
GERMAN ENGINEERED. AMERICAN MADE.
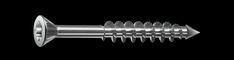
Benefits of Trim Head Screws
While there are many choices to use when installing finish trim throughout your home, Trim head fasteners are another option for fastening trim, and they offer some unique advantages.
- Strong and secure hold
- Less likely to split the trim due to their smaller size and self-drilling capabilities
- Leave smaller holes compared to regular screws, making them easier to fill and conceal
- Available in different finishes to match the trim material
- Can be easily removed if necessary
Trim Head Screws are fasteners specifically designed for various applications of trim work. They have a smaller head size compared to regular screws, allowing them to be countersunk into the trim material more easily.
We’ve Got You Covered
Find the right screw or fastener for your next job with the largest variety of diameters, lengths and head styles in the industry.
Related Products


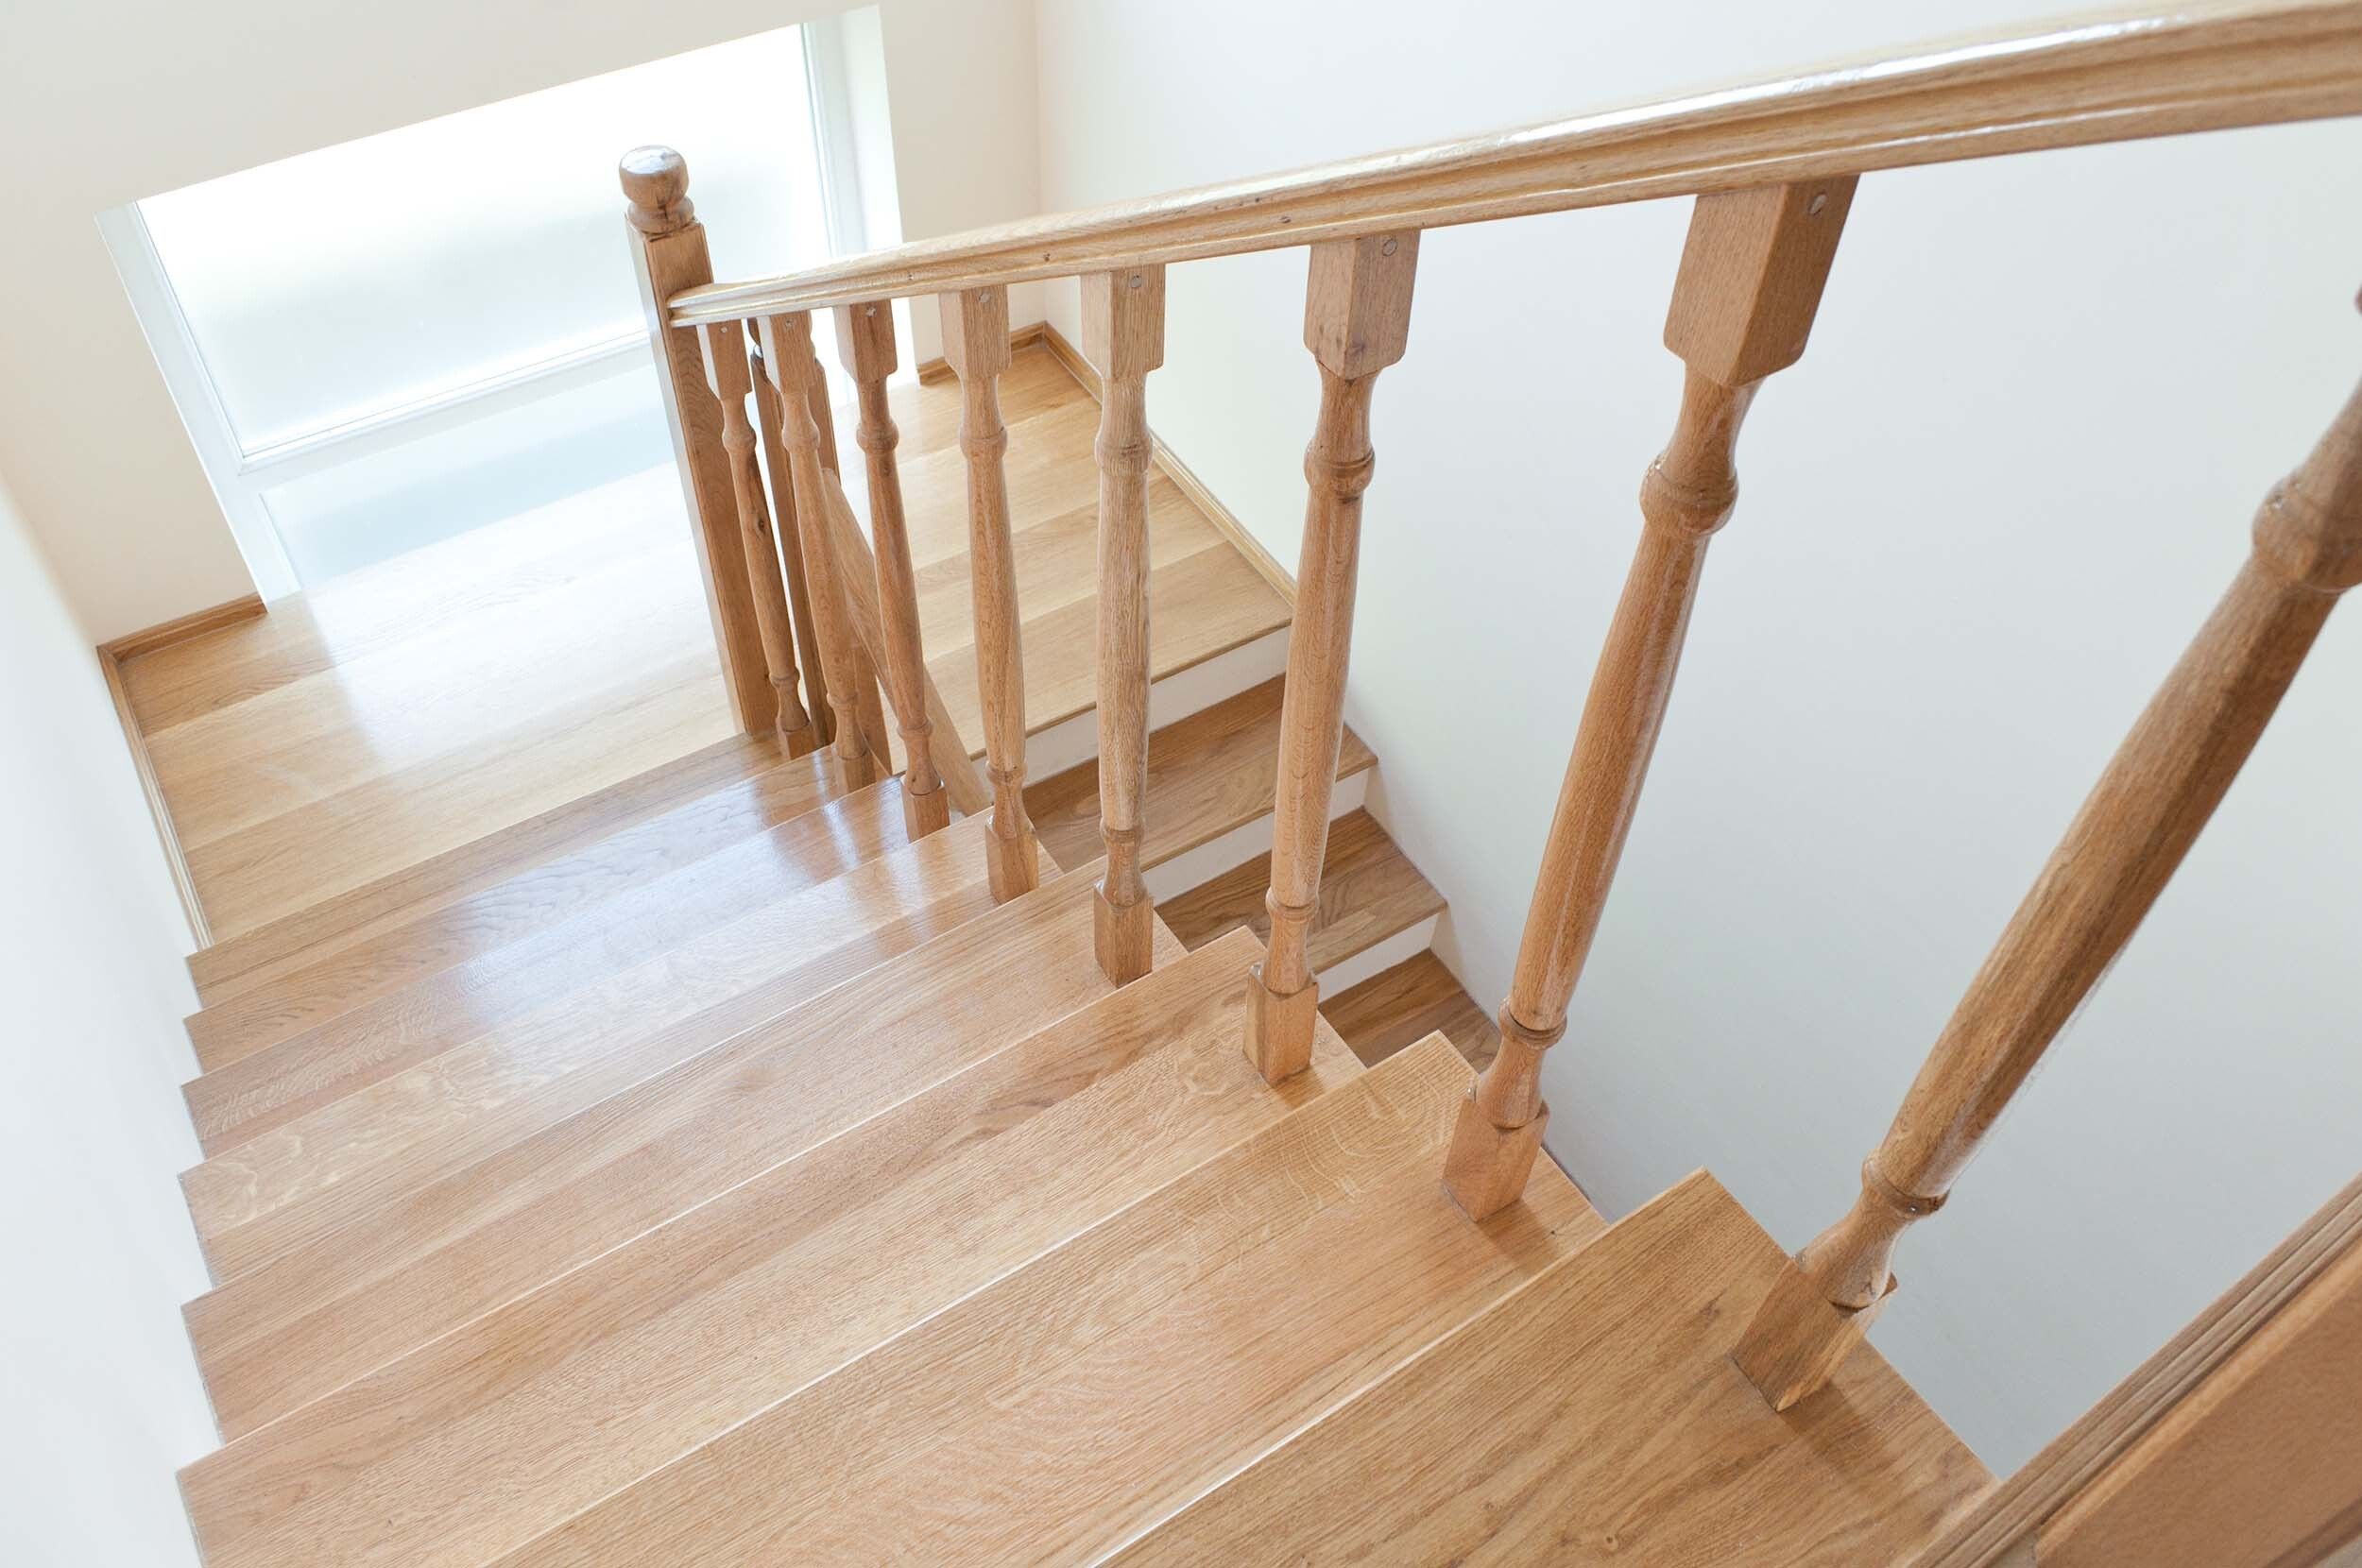
How to Install Stairs
Installing new stairs is a complex project that requires careful planning and precise execution. Here is a general guide on how to install new stairs:
Measure and Plan
Measure the space where the stairs will be installed to determine the required dimensions and rise/run of the stairs. Check local building codes to ensure compliance with safety regulations and obtain any necessary permits. Plan the layout, considering factors such as the number of steps, the height of each step (rise), and the depth of each step (run). Ensure consistent measurements for a comfortable and safe staircase.
Gather Materials and Tools
Purchase the necessary materials, including stair treads, risers, stringers, and any additional support structures. Gather the appropriate tools, such as a circular saw, tape measure, level, framing square, drill, screwdriver, hammer, nails, screws, and construction adhesive.
Remove Existing Stairs (if applicable)
If you are replacing existing stairs, carefully remove them, taking care not to damage the surrounding structure.
Install Stringers
Cut the stringers (the sloping boards that support the steps) based on your planned dimensions and design. Attach the stringers securely to the upper and lower floors using brackets or by directly fastening them to the framing. Ensure the stringers are level and properly aligned to provide a sturdy foundation for the steps.
Install Treads and Risers
Cut the treads (horizontal boards you step on) and risers (vertical boards that enclose the space between the treads). Attach the treads and risers to the stringers, starting from the bottom and working your way up. Use construction adhesive and screws or nails to secure the treads and risers in place, ensuring they are level and securely fastened.
Secure and Finish
Check the stability and alignment of the stairs, making any necessary adjustments and reinforcements. Install handrails and balusters if required by local building codes or for added safety. Fill any screw holes, sand the surfaces, and finish the stairs with paint, stain, or a protective coating.
Final Checks
Inspect the stairs for any loose components, sharp edges, or potential hazards. Test the stairs for stability, ensuring they feel secure and comfortable to use. Double-check that the installation meets all applicable building codes and safety standards.
It's important to note that the above steps provide a general overview, and the specific installation process may vary depending on the design, materials, and local building regulations. It is advisable to consult professional contractors or stair manufacturers for detailed instructions and guidance tailored to your specific project.
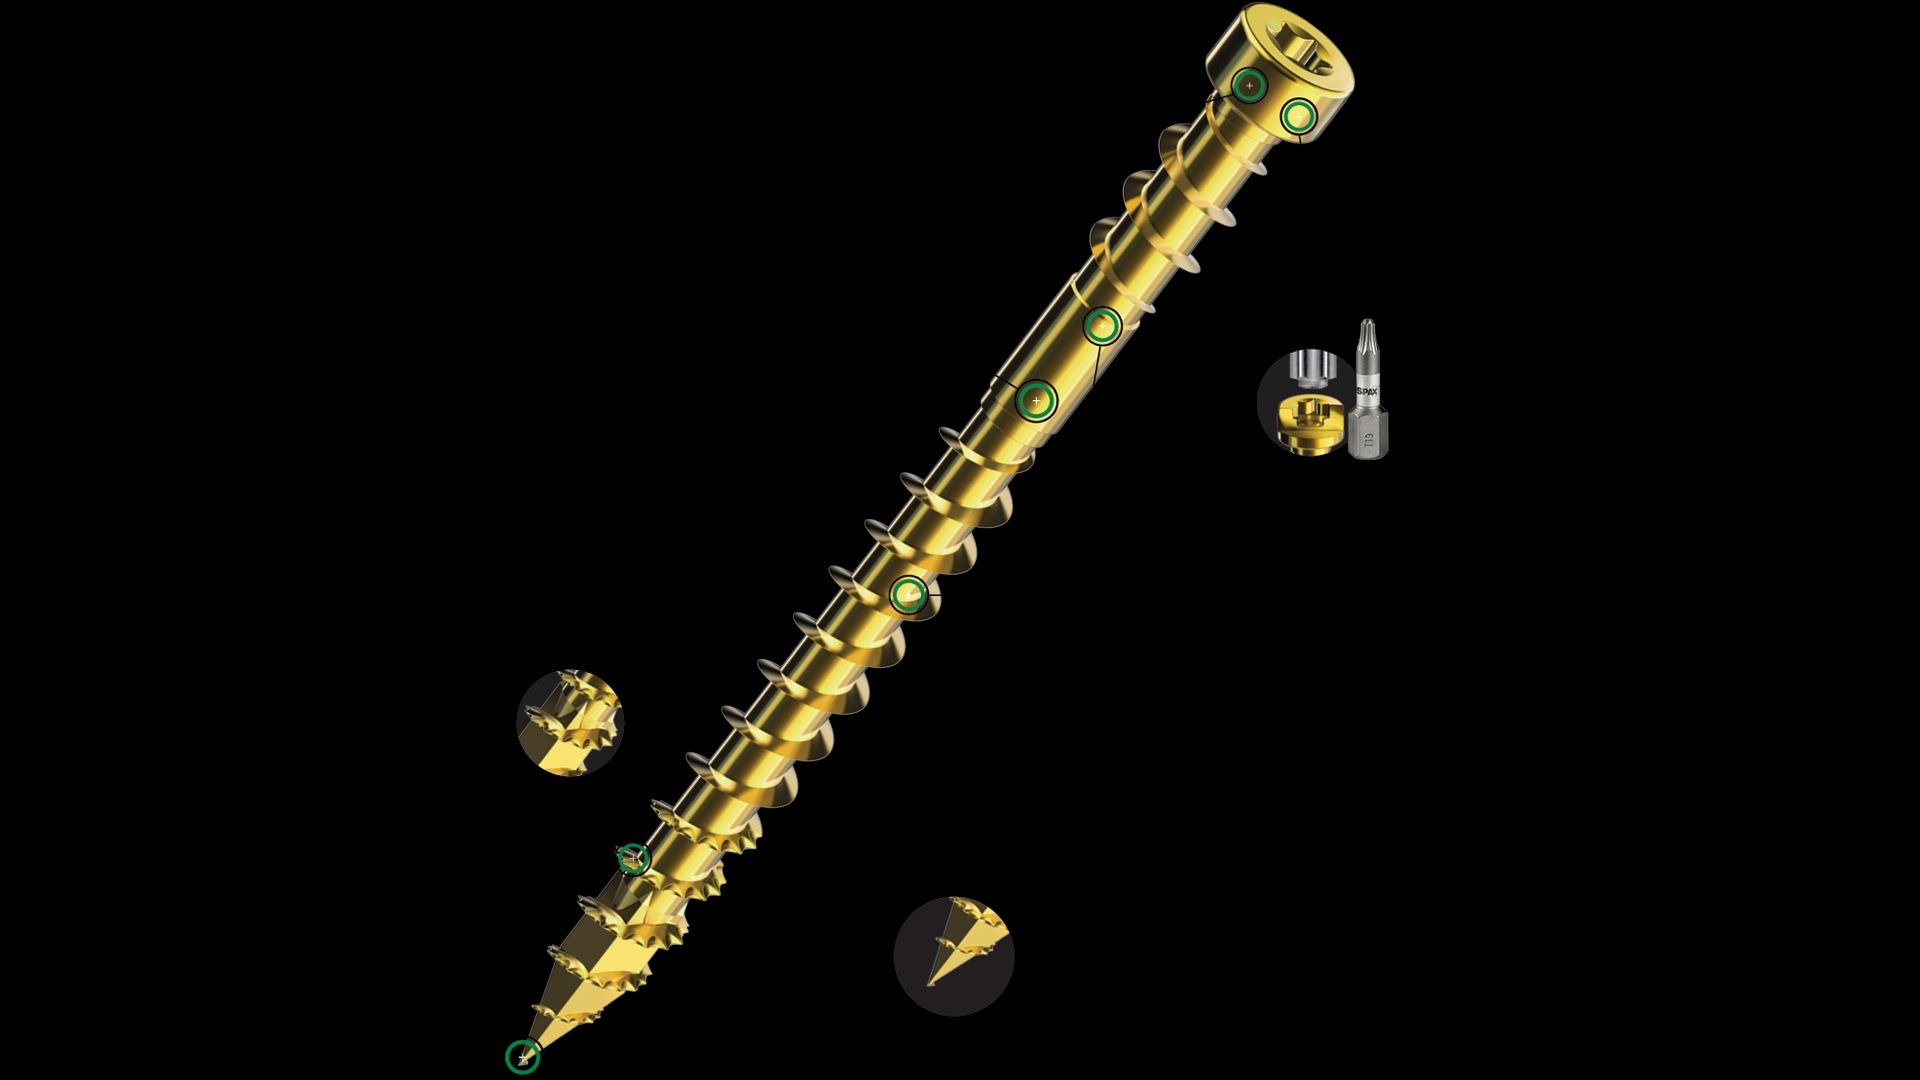
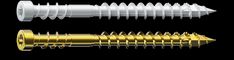
THE IDEAL PREMIUM FASTENER FOR TRIM & MOULDING
SPAX® T-STAR plus Trim Head fasteners with yellow HCR® coating are designed to countersink for a clean-flush and near “hidden” finish

Face Frame and Styles Attachment
SPAX® recommends using a #8 x 2-1/2” MDF/Hardwood fastener for styles attachment. This product provides a unique combination of patented thread technology with a drill point type design feature which allows for this product to be a more effective solution in small, thin hardwood trims in order to prevent splitting and damage during connection assembly. For more information on MDF/Hardwood Screws click below:
How to Install a New Railing & Balusters
Installing a railing and balusters is an important step in creating a safe and functional staircase. Here's a general guide on how to install a railing and balusters:
Measure and Plan
Measure the length of the stairway where the railing will be installed. Determine the height of the railing according to local building codes. Decide on the spacing between balusters based on safety requirements and aesthetic preferences.
Gather Materials and Tools
Purchase the necessary materials, including the railing, balusters, newel posts, brackets, screws, and other hardware. Gather the appropriate tools, such as a drill, screwdriver, level, measuring tape, saw, and a wrench.
Install Newel Posts
Determine the locations for the newel posts at the top and bottom of the stairs. Use a saw to cut the newel posts to the desired height. Position the newel posts and attach them securely to the floor and framing using brackets or mounting hardware. Ensure that the newel posts are plumb (vertical) and stable.
Install Handrail
Measure and cut the handrail to the appropriate length, allowing for overhang at each end. Attach the handrail to the newel posts using brackets or mounting hardware. Use a level to ensure the handrail is straight and properly aligned.
Install Balusters
Measure and mark the desired spacing for the balusters along the handrail and bottom rail. Cut the balusters to the appropriate height, accounting for any slope in the stairs. Attach the balusters to the handrail and bottom rail using screws or baluster connectors. Ensure that the balusters are evenly spaced and securely fastened.
Secure and Finish
Double-check that all connections and fasteners are tight and secure. Fill any visible screw holes with wood putty or other appropriate filler. Sand the surfaces of the railing and balusters to smooth any rough edges. Apply the desired finish to the railing and balusters, such as paint or stain, following the manufacturer's instructions.
Final Checks
Inspect the railing and balusters for stability and ensure they meet local building codes and safety standards. Test the railing to make sure it can support weight and provides a secure grip. Make any necessary adjustments or reinforcements to ensure the railing and balusters are safe and functional.
Note that specific installation steps may vary depending on the type of railing system you are using, such as post-to-post or over-the-post designs. It's important to consult the manufacturer's instructions for your specific railing system and consider any additional requirements or guidelines outlined in local building codes. If you are unsure or uncomfortable with the installation process, it's recommended to seek professional assistance from a contractor or experienced carpenter.