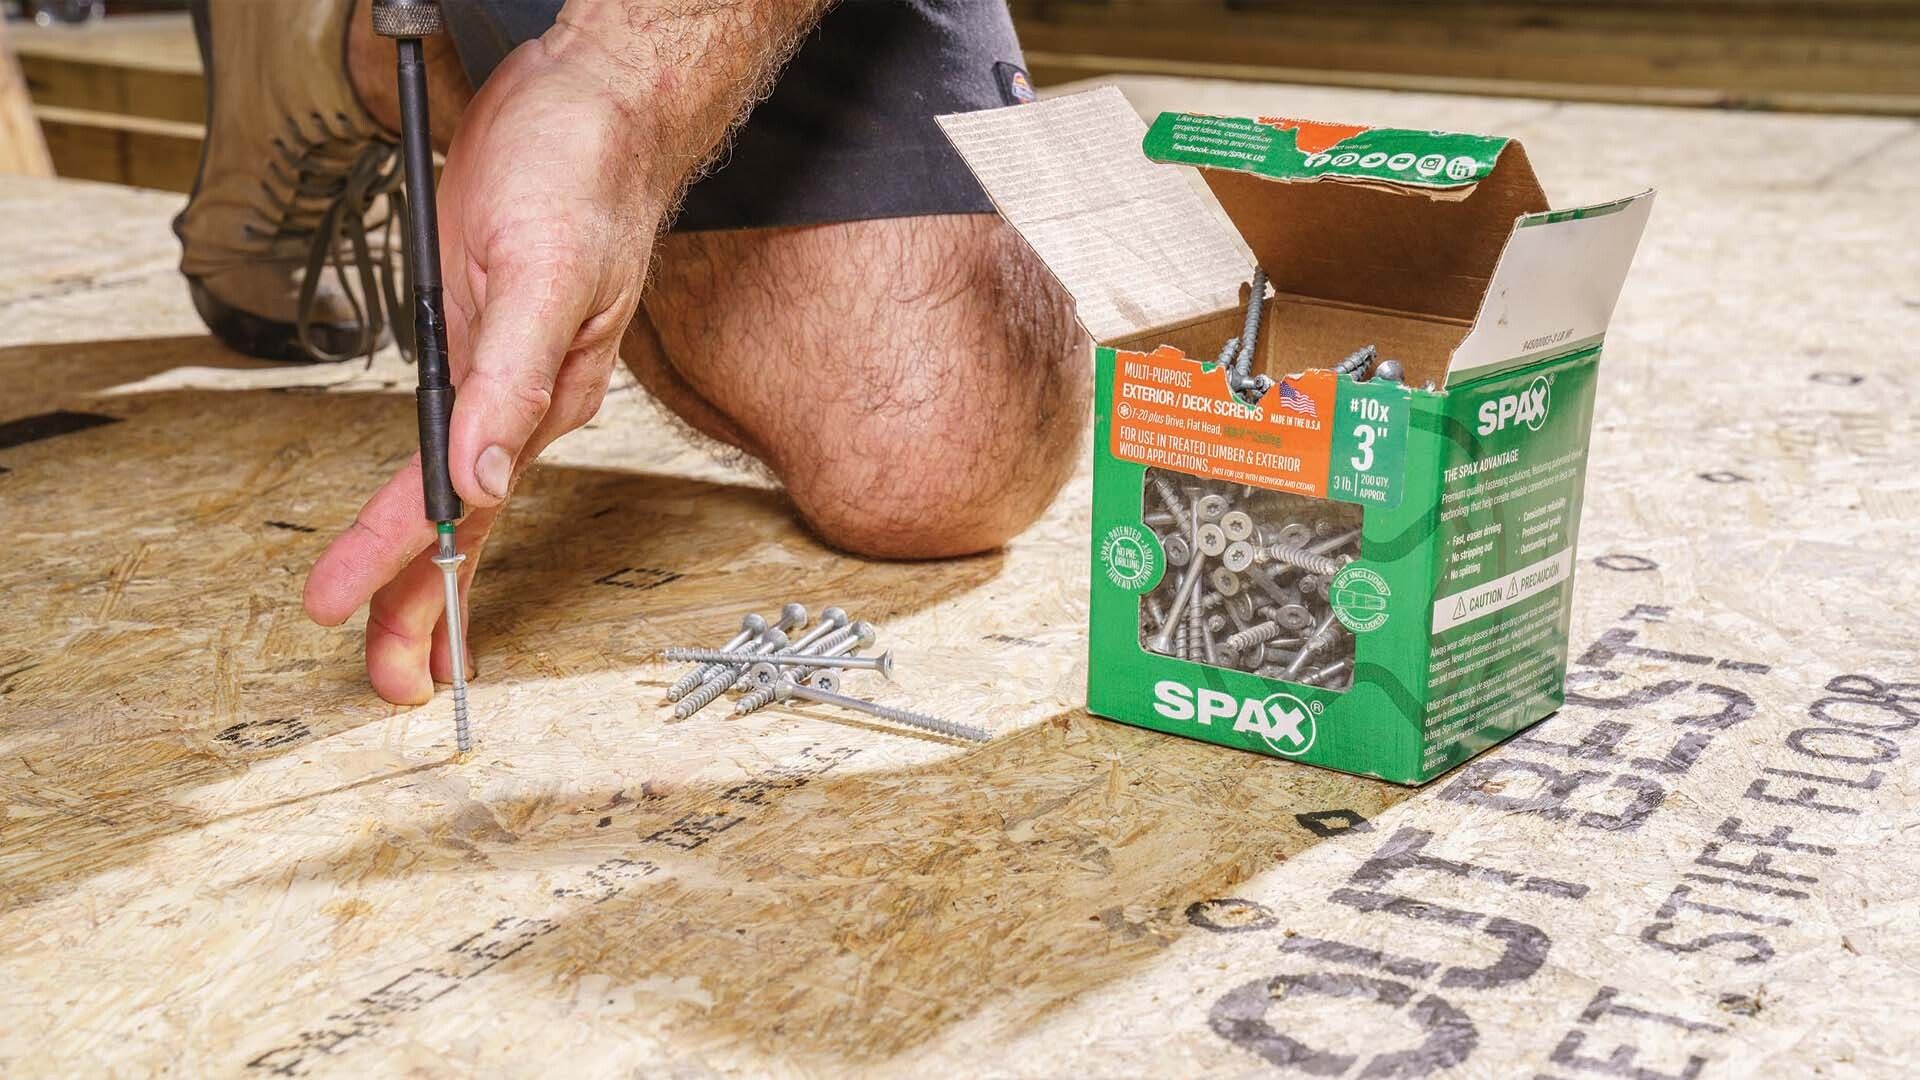
Secure your subfloor with SPAX® Screws
Enhance subfloor stability and save time with SPAX® screws' superior grip and easy installation.
Master Your Projects with Confidence
SUBFLOOR SCREWS AND FASTENERS
The subfloor plays a vital role in maintaining the structural integrity, stability, and longevity of a residential home. It provides a solid foundation for the flooring system while protecting against moisture, supporting the load, and contributing to sound and thermal insulation. Proper construction and installation of a subfloor are essential to ensure a safe and durable home.
We’ve Got You Covered
Find the right screw or fastener for your next job with the largest variety of diameters, lengths and head styles in the industry.
Related Products


Things to Consider While Installing Subflooring
Installing subflooring with screws and preventing squeaks involves several steps. Here's a guide to help you with the process:
Prepare the materials and tools
- Subflooring panels (usually plywood or oriented strand board)
- Construction adhesive
- Fasteners suitable for subflooring (2-3" long)
- Power drill or screw gun
- Tape measure
- Circular saw or table saw (if you need to cut the panels)
- Safety glasses and gloves
Measure and cut the subflooring panels
Measure the dimensions of the floor area where you will install the subflooring. Transfer the measurements to the subflooring panels and mark the cutting lines. Use a circular saw or table saw to cut the panels to the appropriate size.
Prepare the subfloor
Remove any existing flooring materials and ensure the floor is clean and free from debris. Repair any damaged areas on the subfloor and ensure it is level and even.
Apply construction adhesive
Apply construction adhesive in a zigzag pattern on the top of the floor joists or existing subfloor. This will help create a strong bond between the subflooring panels and the floor structure, reducing the chance of squeaks.
Install the subflooring panels
Begin by placing the first panel along one edge of the floor, ensuring it is flush with the wall. Leave a small gap (around 1/8") between the panel and the wall to allow for expansion. Secure the panel to the floor joists or existing subfloor by driving screws through the panel and into the joists. Place screws approximately every 6-8" along the edges and every 12" in the field of the panel. Repeat the process with the remaining panels, making sure to stagger the joints for added strength.
Check for squeaks and secure any loose areas
After installing the subflooring, walk across the floor and listen for squeaks. Identify any areas where the subflooring may be loose or causing squeaks. To secure loose areas, add fasteners through the subflooring panels into the joists or existing subfloor, focusing on the problematic areas. Ensure screws are driven flush with the subfloor surface, but avoid overdriving them and causing damage.
Fill gaps and seams (optional)
If desired, you can fill gaps between the subflooring panels or seams with a suitable wood filler or caulk. This can help further reduce the chance of squeaks and create a smoother surface for the finished flooring.
By following these steps, you should be able to install subflooring with screws and minimize the potential for squeaks. Remember to prioritize safety while using power tools and equipment. If you have any doubts or concerns, it's always a good idea to consult with a professional or experienced contractor.
SPAX® Sets the Bar EVERY DAY!
Once you try SPAX Engineered Fasteners, you won’t settle for anything else.
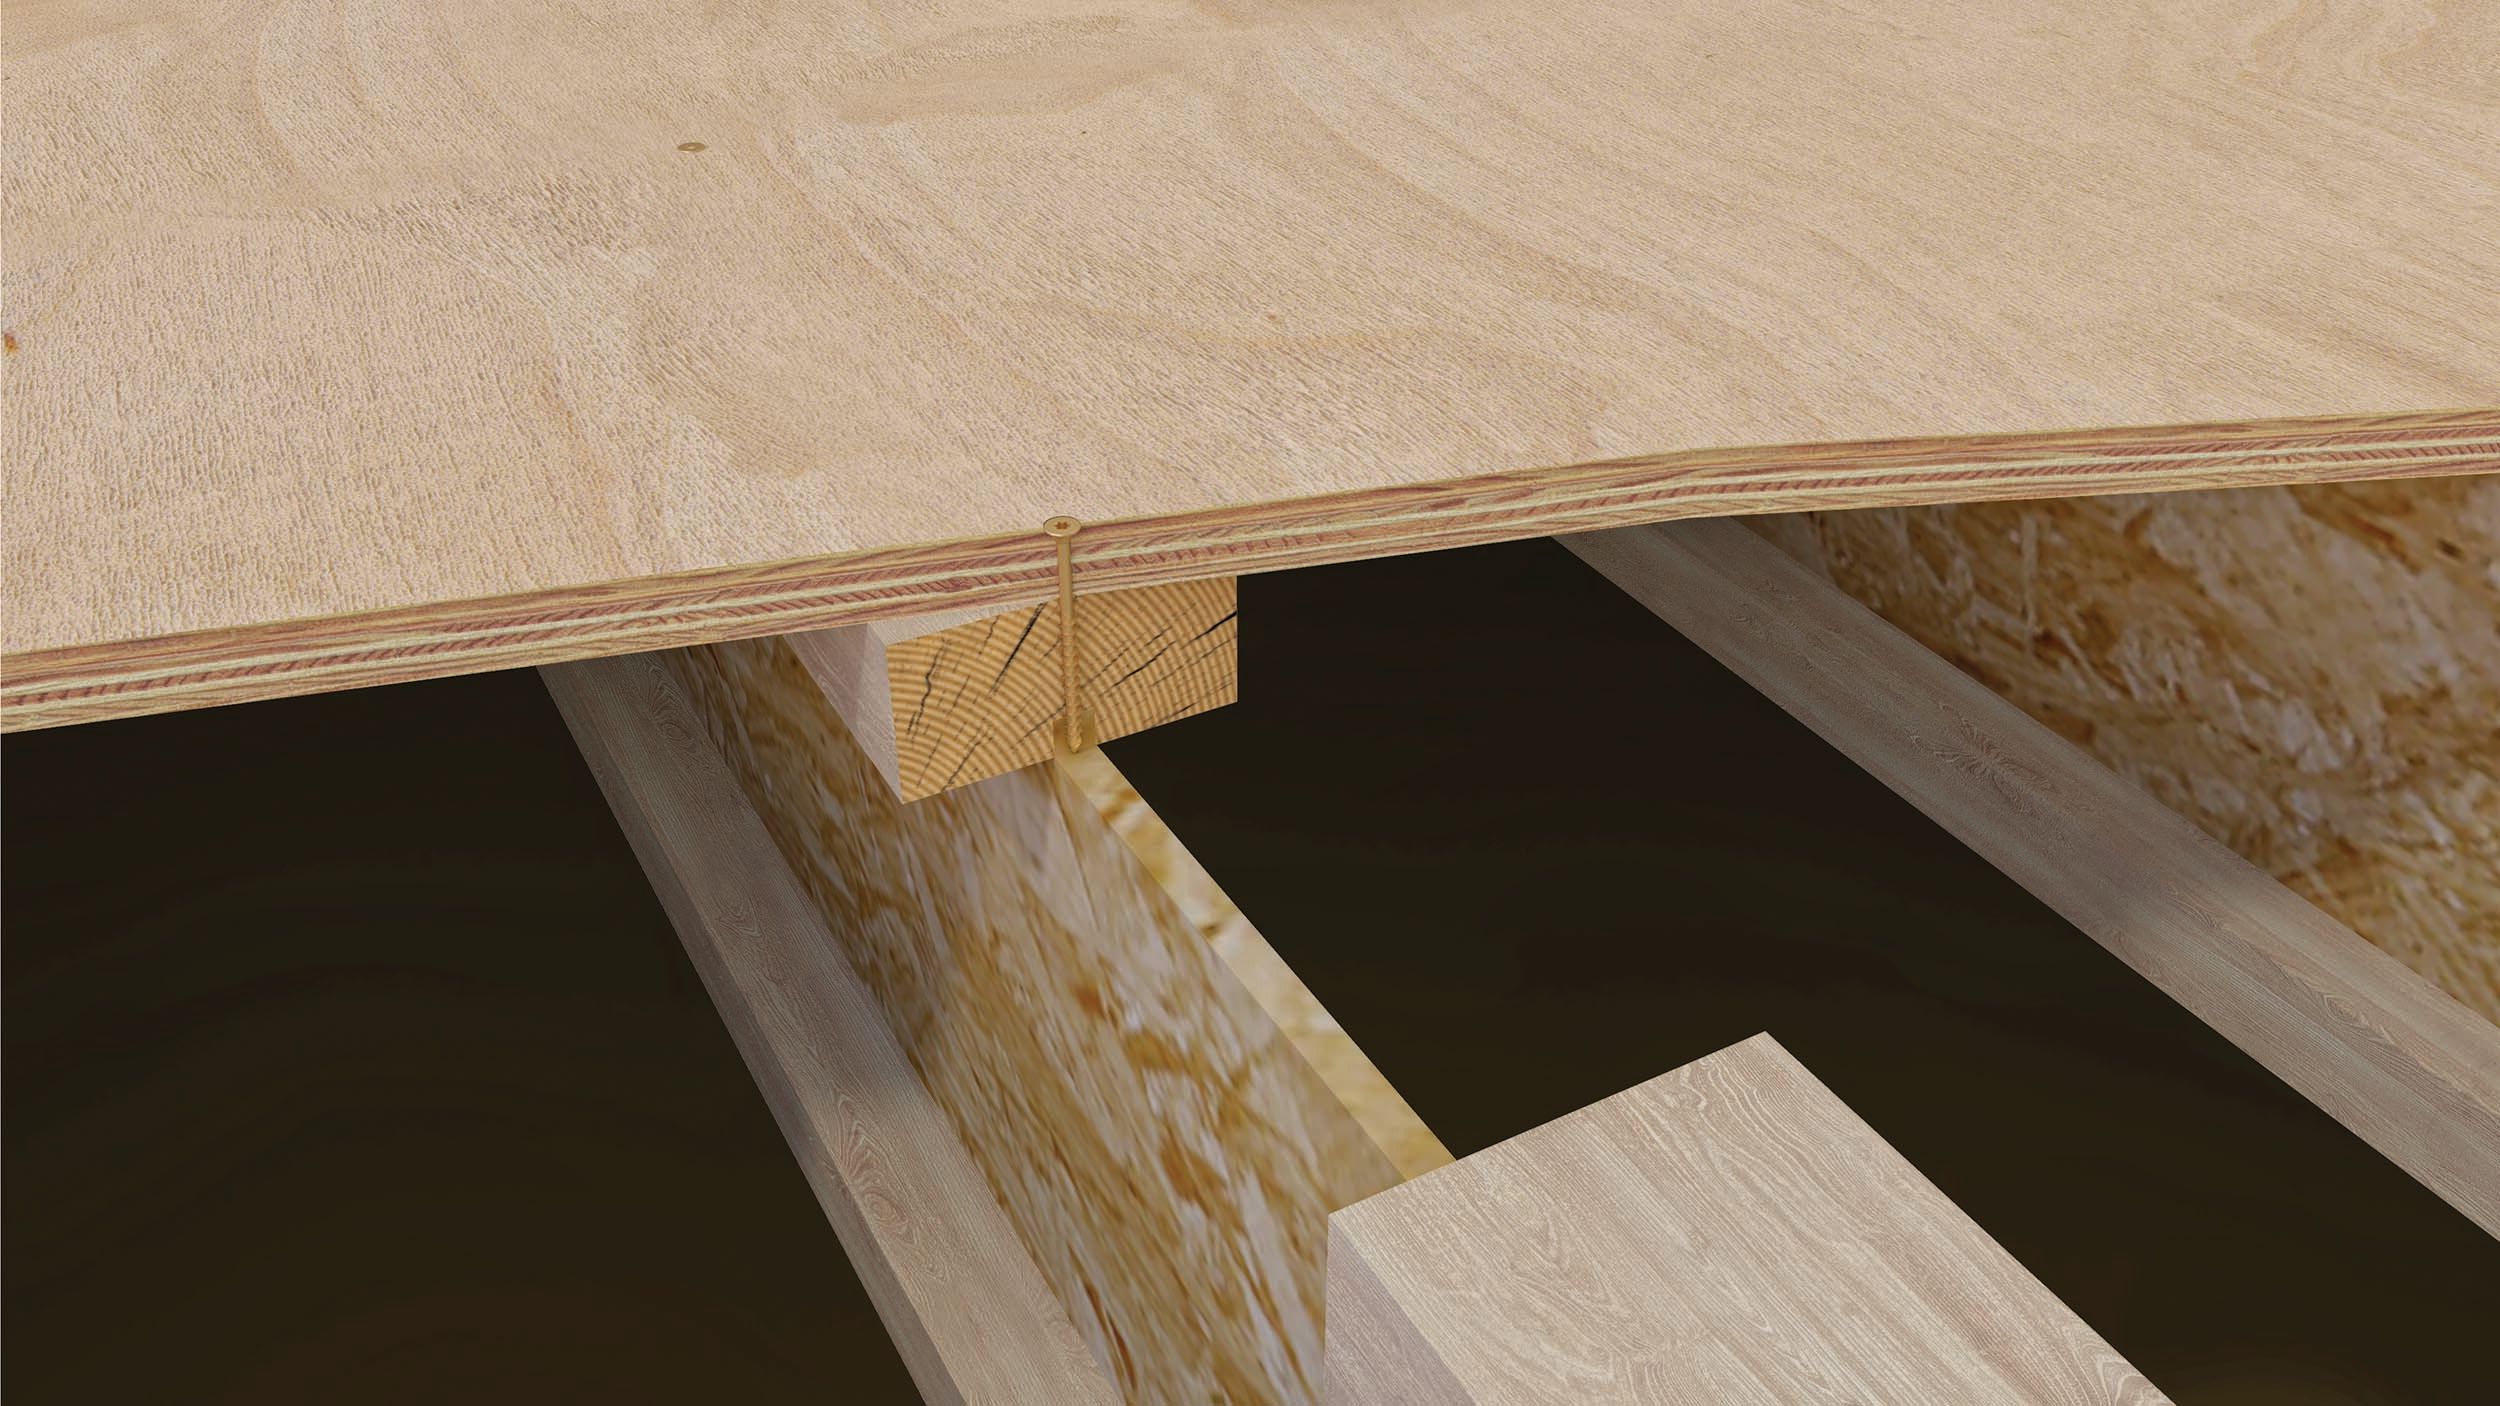
Attaching a squeak-free subfloor
SPAX® countersinking head constructions screws are a perfect substitution for ring shank nails and adhesives to hold down subflooring in order to provide a secure attachment that doesn’t squeak for the homeowner down the road. Yellow zinc coated fasteners for dry application and HCR-X™ for exterior/wet service applications.
Find a SPAX Dealer Near You
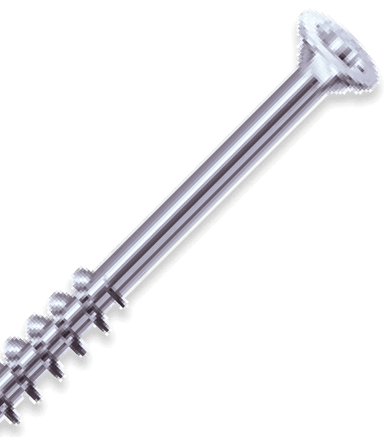
Multi-Material Flat Head Construction Fasteners
German engineered and American made, SPAX® Multi-Material Engineered Construction Fasteners are professional grade and designed to make strong connections - the first time.

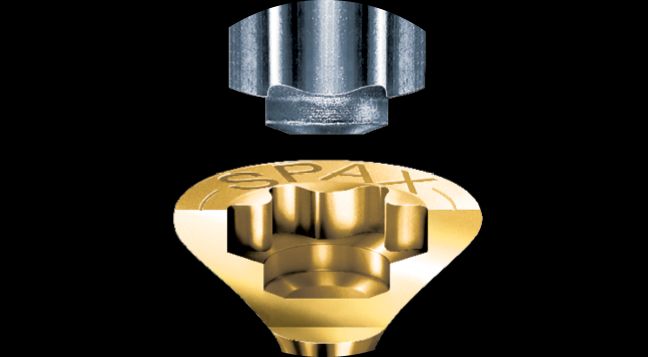
T-STARplus® Drive
"The PRO's Choice" drive system provides superior bit engagement, eliminates camming out and facilitates overhead driving.

MULTI-Head Design
Countersinks screw head flush with material.

Serrated Threads
Allow for quicker, easier fastening.

Unique 4CUT™ Point
Prevents splitting and requires no pre-drilling in wood.